eSigning Guide
Instructions
Step 1 Click the link in your email to bring you to Milend's Consumer Connect loan portal:
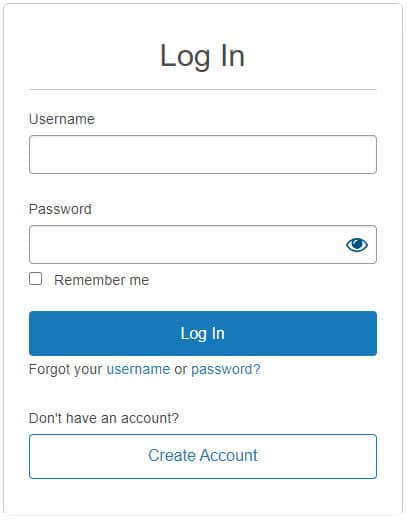
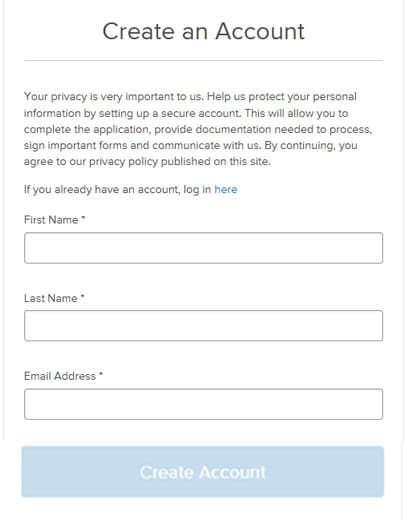
Step 2 If you applied online, you may log in with the credentials you used when you submitted your application. If you did not apply online, you’ll want to click the “Create Account” button.
If you’re creating a new account, you can fill out all required information on the account creation page. Once you are done, click “Create Account”:
 You will receive an activation email. Click on the link in your email to confirm your email address and activate your account. You will then be asked to log in with the credentials you created.
Step 3 If this is your first time logging in, you will be asked to enter your Authorization Code. This is the last four digits of your social security number.
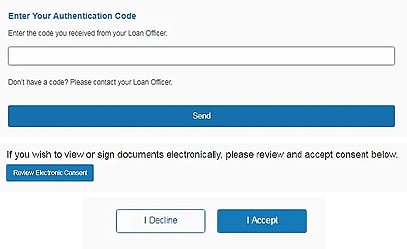
Step 4 If you did not complete your Consent to do Business Electronically - Click the “Review Electronic Consent” button, read through the disclosure, and choose accept or decline.
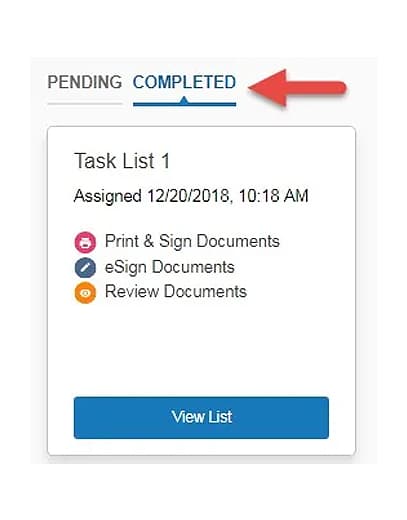
Step 5 You will be brought to your Task List of items we need from you. Click the “View List” button to complete all outstanding items. These items will be broken down into 3 categories:
Review Documents: These are informational documents. You are not required to sign or return these documents to us. You may view each of them and then click the “Done” button to complete the task.
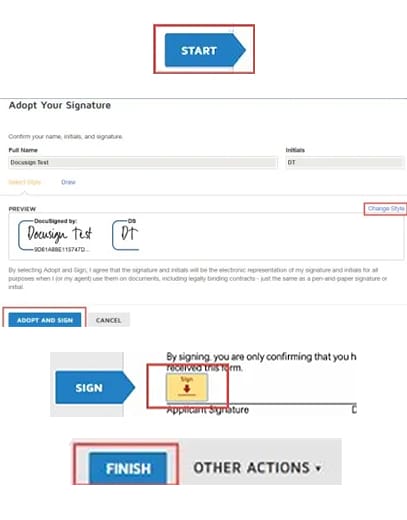
eSign Documents: These can be electronically signed. Click the “eSign” button and you will be taken to our Docusign portal. To begin, click the “Start” button on the left side. Click on each yellow “Sign” marker to sign. The first time you sign, you will be asked to adopt your signature. You can customize styles, but make sure that your signature shows clearly and is not blank. Clicking the blue “Sign” button on the left will take you to the next signature point. Once you’ve signed each spot, you will find the “Finish” button at the bottom. Click this and you will be returned to the portal.
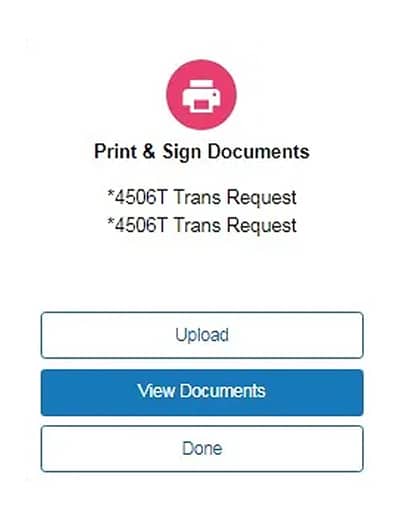
Print & Sign Documents: Some documents require a wet signature. You can click the “View Documents” button to open these in a new window. You will want to print them and wet sign. Once signed, you can fax them to us using the attached coversheet, or you can scan them and use the “Upload” button to send them to us. Once you have sent these to us, you can click the “Done” button to complete the task.
Once you have completed all required tasks, your task list will move from Pending to Complete. You can view all completed tasks at any point to review documents that have been previously signed.